


Welcome to our tutorial on how to wear a Kimono or Yukata in the “Harajuku Style!”. We have a few of our video tutorials embedded at the bottom of this page. But, we also have written I structions with still photos in a web-readable format to ensure that all types of learners can access this awesome information! So scroll on my friend, and learn about how to wear kimono and tie obi in the learning method that best suits your needs!
Kimono and Yukata are traditional Japanese garments, worn by both men and women throughout Japan for various occasions. However, on my first trip to Japan, I saw a cadre of girls (in you guessed it, Harajuku) who were wearing their garments in a totally new and unexpected way.
When I asked why they were wearing their kimono and yukata this way, they had a variety of answers. Some said they wanted to try to bring a new and modern style to something traditional; some said they couldn’t wear the kimono that have been passed down in their families because it didn’t fit the traditional way, so they came up with a new way of wearing these garments. Either way, they created what we at Tangerine Mountain call the “Harajuku Style,” which can be worn by anyone – no matter what your body type, height, etc.
To wear a kimono or yukata in the “Harajuku Style,” please follow these steps:
1) Put the kimono / yukata on like a robe, and hold the ends of the kimono/yukata away from the body.

2) Pick up the garment until the back hem rests just above the hem of your skirt (or, if you’re wearing leggings or pants, just above the knee). Blouse the excess kimono over your arms as you hold the kimono in place.

3) Next, tie a simple sash (or himo) around your waist, but under the bloused excess of the kimono. This tie will help hold the garment in place for the next step. (The excess blousing will create a bustle-like effect when this look is complete.)

4) Now, take an obi (like a hanhaba obi), and being tying it in the Bunko Obi fashion. To do so, hold one end of the hanhaba obi in front of you, and measure approximately two feet in length.

5) Place this section of obi over your right shoulder (to keep it out of the way for now), and begin wrapping the rest of the obi around your back. Make sure the obi is placed over the kimono blousing. Continue to wrap the obi around you, making sure to wrap it at least once around yourself. Twice would be preferable, but depending on your size, once may be enough.

6) Now, take the long end of the obi that you have been wrapping around yourself, as well as the shorter end that has been resting over your shoulder. Tie a single knot. Then, place the shorter end of the obi over your shoulder once more to keep it out of the way for the next step.

7) Take the longer end of the obi and fold it upon itself, making a rectangle shape that is centered above the knot you just tied. (This rectangle shape / pillow will become the bow.)

8) Pinch the rectangle shape / pillow in the center. Then, take the shorter end of the obi off of your shoulder and fold it in half length-wise to make it narrow. (This will be the center that cinches the bow.

9) (a) Take the shorter part of the obi and bring it down over the center of the rectangle / pillow. (b) Next, tuck the short end of the obi under the rectangle / pillow, and tug it up firmly behind the knot, cinching the bow. (Do this step twice.)

10) Now, take the remaining short part of the obi and tuck it down between your body and the layers of the obi that are wrapped around it. Open the fold to help maintain the stability of the bow.

11) Lastly, twist the whole obi around your body until the bow is centered on your back. Tuck the remaining tail of the obi bow up into the obi layers.
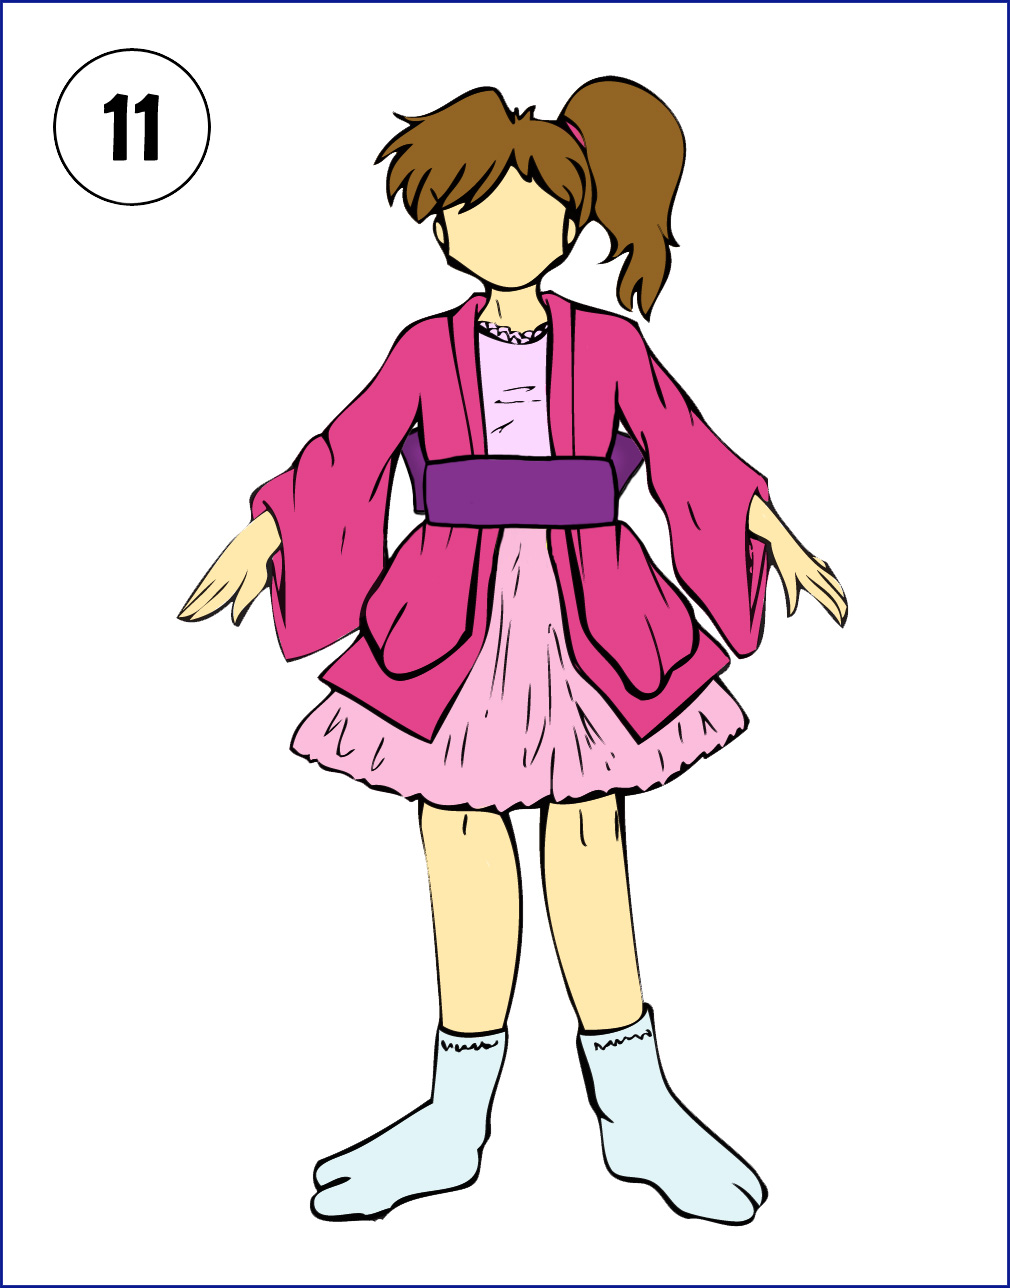
And now, you’re wearing your garment in the “Harajuku Style!”
And now, for the video!
Of course, there are a few variations on this style, such as wearing kimono/yukata with loli-style dresses, shorts, leggings, etc. – feel free to experiment like in our video below and enjoy!